Sunday, 6 November 2011

I, Bunyip


Today we joined some friends for the I, Bunyip show at Campbelltown Arts Centre. This was a fabulous show for children featuring the spirit creatures of Aboriginal folklore. The cave and forest set was combined with amazing visual light effects and the creatures were played by puppets, some of which were a little scary!

The children were able to meet some of the puppets and their puppeteers after the show.

History Street - Roman Villa


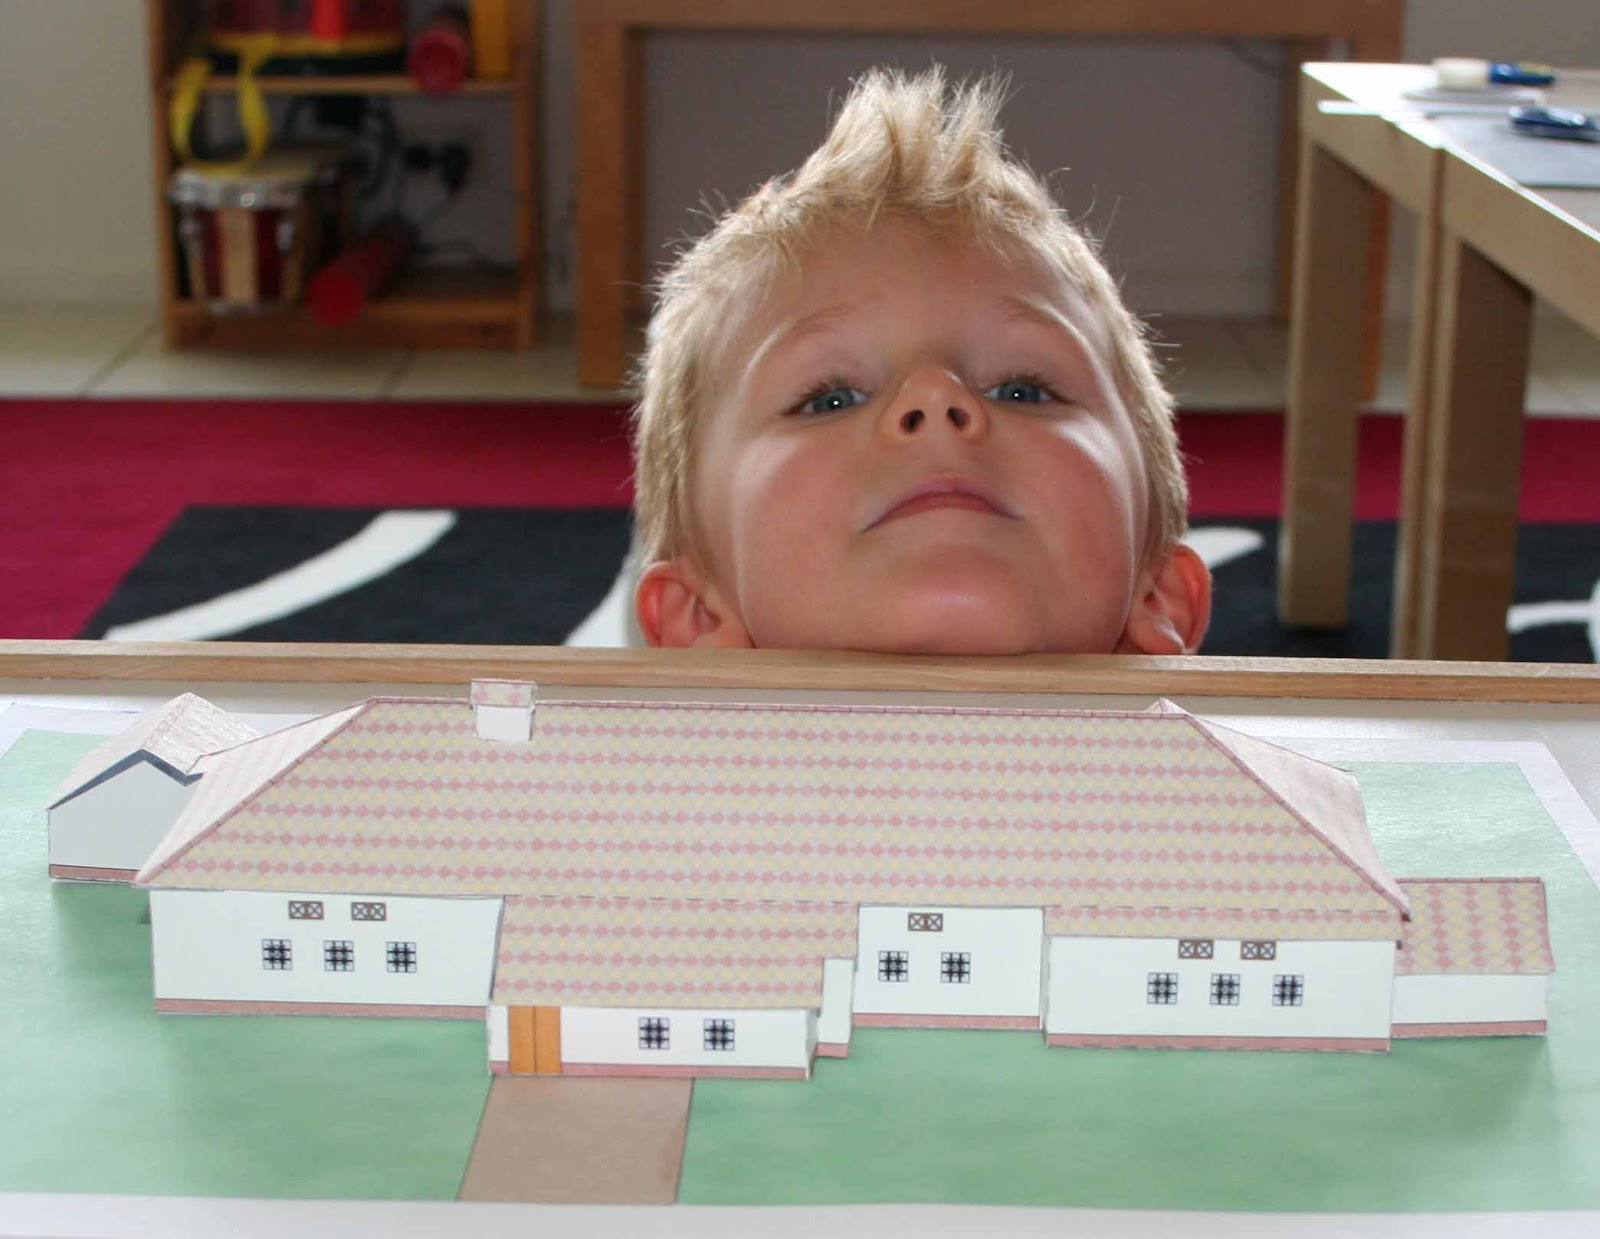
R and Dad have been working for the last 3 days on this model Roman villa. You can download the paper model here. First they read about Roman villas and what life inside them was like. Then they assembled the model for our history street. This involved lots of cutting and sticking and some problem solving (hint: if you make this model don't follow the instructions and put the chimney on last, do it before the roof goes on!).


Monday, 31 October 2011

History Street - Iron Age House


We have a book about the history of houses out on loan from the library. We read about an iron age house and looked at the design before constructing our own model. We talked about what it might be like to live in this house and how it is different to our own house. First we used lolly sticks and matches to make the frame, these would have been wood in the real house.


Next we added a thatched roof made with drinking straws. We needed fast drying glue for this (fabric glue/balsa cement).


Keep your eye out for our next building.

Charts And Graphs

R has been keeping a record of the weather over the last month. Today we worked on graphing our results. R learned how to make a tally chart, pictograph, bar chart and pie chart. I quizzed him on his graphs and he was able to interpret them well. 


October's weather


Tally chart

Pictograph

Bar graph made in Excel 


Pie chart made in Excel

Saturday, 29 October 2011

Simple Bridge Experiment

Plank Bridge

Today we challenged ourselves to make simple bridges using only 1 sheet of A4 paper. We talked about our previous experiment and decided triangles and cylinders were the way to go. We constructed a plain "plank" style bridge, a "corrugated" bridge (triangles), and a bridge using cylinders. We used Duplo to make the span for the bridges to cross.

The bridges were so strong that we didn't have enough weights to test them with so we used wooden blocks as well as regular weights, we found out how much a block weighed using kitchen scales.


Constructing a cylinder bridge

Construction in progress

Construction of the corrugated bridge

R demonstrates how people walk across

Testing the corrugated bridge

Tested to destruction

Here's our results;

  • Plank bridge 50g
  • Cylinder bridge 640g
  • Corrugated bridge 1015g

Conclusion - triangles are strong shapes to use in bridge building.

We also watched a documentary about the construction of the worlds largest bridge in Japan - they used lots of triangles too.

History Street - Cave

We are just starting to investigate houses through the ages. We are going to make a model street with different dwellings from a variety of periods in history. Today we started with a cave dwelling. Luckily we had visited a small cave recently and seen some Aboriginal art works on the walls.

R at Blackfellows Hand Cave

We hollowed out a ball of air dry clay to make a cave shape and left it to dry.


Next we used tiny hand print stencils to add the cave paintings.


Friday, 28 October 2011

Introduction To Strong Shapes

Today I introduced children to the concept of some shapes being stronger than others. First we talked about the types of shapes we had seen in buildings. We made squares and rectangles with mechano. We soon concluded they they weren't very strong as we could deform the shape easily. We added cross braces to create triangles and noticed how much stronger they were.


Deforming a rectangle

Adding a cross brace to make triangles

Then we had a look through our junk modelling box for more shapes. We reinforced  a box with cross braces to make it stronger. They explored the strength of cylinders and found it depended on which way they were compressed.  Next we will move onto a more scientific way of testing shapes (using weights) when we make some bridges.

L can't compress the box as easily with the cross braces attached

R finds that a cylinder is very strong in this orientation