 |
| By R |
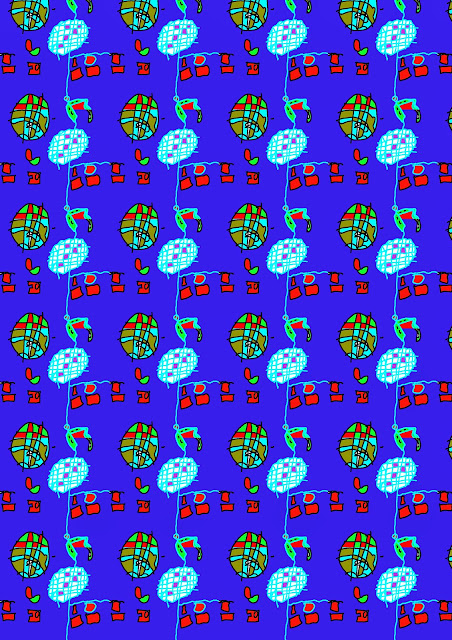
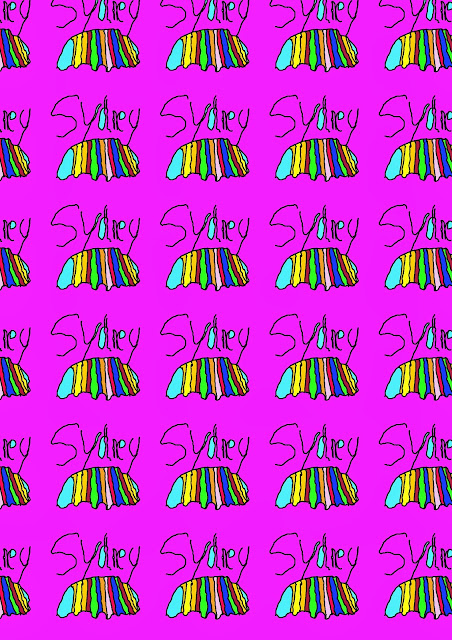
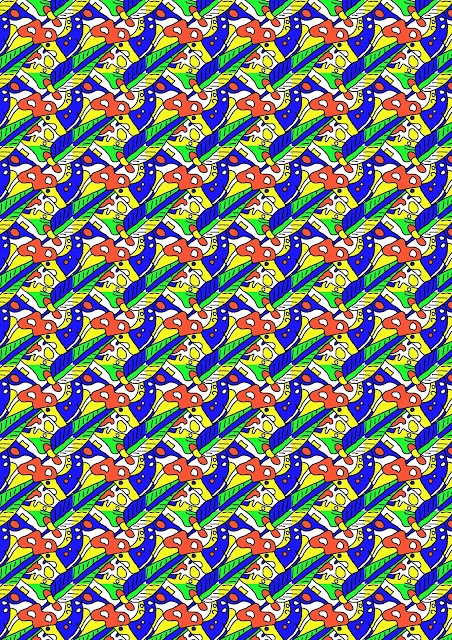
Today we have been using Photoshop to make repeat patterns based on our
observational drawings. The pattern above came from this observational drawing (top right):
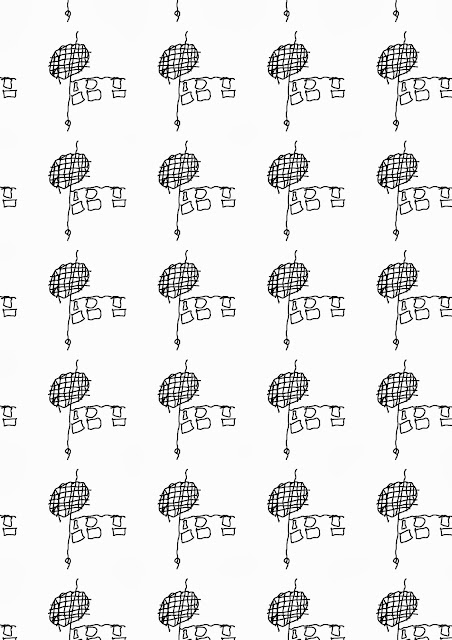
First we isolated small parts of our drawings and scanned them into the computer. We opened up a new square shaped document in Photoshop (we used 400 by 400 pixels) and placed the drawing onto this. We drew over them in black using the
pencil tool making sure that the design didn't touch the edge of the paper .We then deleted the layer containing the scan which left us with a crisp black outline drawing.
Next we used the
Filter>Offset command to push the image off the edge of the paper. We experimented with the amount of offset, about half the size of the paper works well (so +200 pixels in our case). Make sure "
Wrap Around" is checked and the pieces pushed off the edge will appear on the opposite side. We then added more design to the blank area in the centre. Once happy with the design we saved it as a pattern using
Edit>Define Pattern. Next we added colours with the
paint bucket tool and then saved the coloured version in the same way:
Edit>Define Pattern. The patterns are now saved in Photoshop to be used any time.
To fill a page with the pattern we opened a new document, A4 size, the same as our printer paper. We selected the
paint bucket tool, on the top tool bar chose
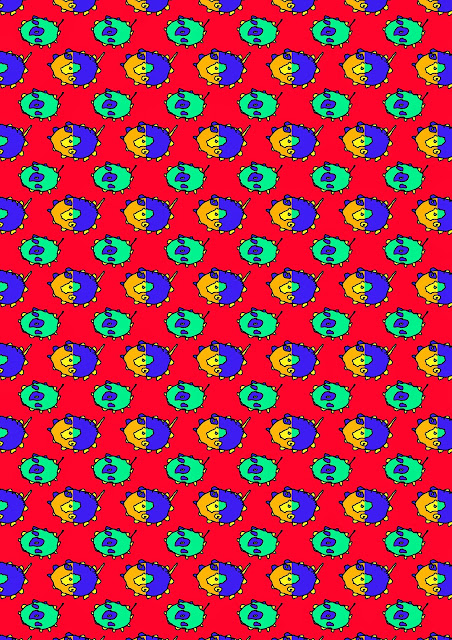
pattern in the drop down menu (the default that you will see is foreground). Then we chose either the black and white or colour version of our patterns from the box along side. We clicked on the page to fill it with our chosen pattern.
 |
| By R |
 |
| By R |
 |
| By L |
 |
| By L |
 |
| By L |
 |
| By Mum |
You can use the patterns to fill in any shape you like
As you can see we have lots more things to try out with this process.