Friday 31 August 2012

Australian Museum - Deep Oceans


Today we went to the Australian Museum to have a look at the new Deep Oceans temporary exhibition.  It's one of the best they have had with a fab mix lots of real specimens, models, interactives and visuals. As you enter the exhibition they have this huge rotating globe showing all the undersea trenches and mountains.


The children were very wary of this huge (real dried) Sunfish.


R and the Sunfish

The children use this arm squashing machine to experience the effects of pressure on the body at depth.


Pressure machine

Giant squid model

There was a section on the black smokers from the hydrothermal vents along the Mid Atlantic Ridge - part of which you can see in the picture below. R was interested in the plate tectonics interactives and video.

Part of a black smoker


There was a huge model of an Angler fish. L wasn't too sure about it.


We have been learning about bones and skin this week so we investigated the rest of the museum, particularly Search and Discover (hands on area) to see what skin and bone specimens we could find.


The children enjoyed touching specimens and playing on the computers. R also spent some time sorting stick insect eggs from their poos - great for fine motor skills!

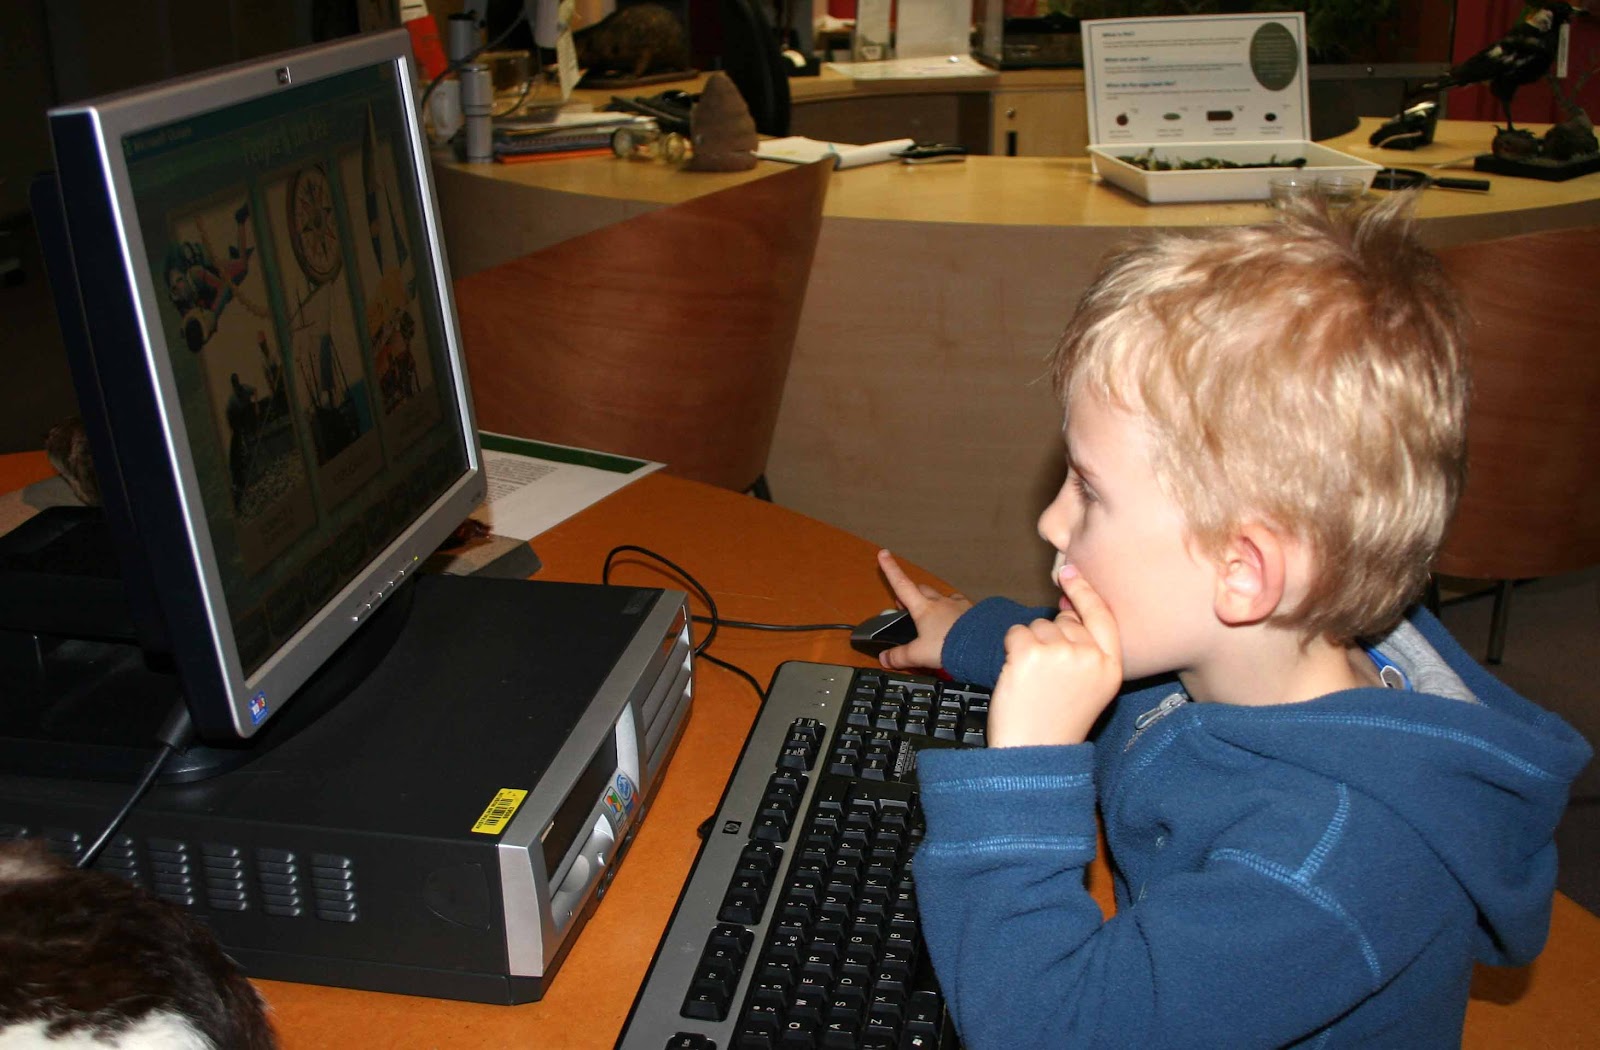
R working with an ocean creatures CD ROM

Putting the fossil together

Hatchet fish in alcohol

Pickled lizards

Looking for stick insect eggs

Collecting eggs from the poo tray

Whilst we were at the museum we renewed our membership, it's definitely worth getting because we will visit several times a year.

Wednesday 29 August 2012

Clay People


Today we had a go at making clay people. We used air dry clay. You can buy a pack of clay tools cheaply at Top Dollar or one of the other cheap stores. Before we began the piece we had a play with all the tools so we knew what they did.

Firstly we rolled out a slab of clay until it was about 2cm thick.


Next we placed a man template on top and cut around it - don't forget the lines right up the arm pits and middle of the legs. 


We then used a loop clay tool to reduce the thickness of the legs and arms whilst leaving the body the same. We did this front and back. Carve away some clay at the neck and waist.


Working on the back we attached lumps of clay for the shoulder muscles, butt cheeks and calf muscles. We indented the spine with a finger. Everything needed to be smoothed and rounded.

Back of R's man

Back of L's man

Back of Mum's man

Next we added muscles and boobs to the front. L decided hers was pregnant and added a big tummy. We added detail to the face and again smoothed and rounded everything.


Front of R's man

Front of L's lady (2 dots on the belly are the babies eyes looking out)

Mum's figure

The people were a bit to bendy to stand upright so we put them into a sitting pose.


L's pregnant lady

R's muscle man

Now we have to let them dry and hope they don't crack.

Monday 27 August 2012

Muscles Man


Today we were using the free curriculum from Mr Q Science to learn about skin, muscles and bones. We made this model arm to show how muscles work.

You'll need 2 card strips (arm bones) joined together with a brad (ligament), attach a piece of string (muscle) to the lower arm using a paper clip (tendon). Attach the other end to to upper arm bone with another paper-clip (tendon) but make sure this one can be pulled through.

Work the arm by pulling the string (muscle) and the lower arm will raise. You can see how the muscle shortens. You cannot lower the arm by pushing the string - muscles only pull. A real arm has another muscle that will pull the arm back into a straight position. Maybe you could make one with this muscle too.

Cut out a hand shape for more realism

Pull the muscle to raise the arm - like this:


Saturday 25 August 2012

Garden Project - Making a Plan

Today we continued our garden project by having a look at some garden design books. This one by John Brookes is excellent and gives you loads of tips for making a design.


We took the advice in the book and divided our garden up into a grid using dimensions of the most prominent feature of the house; the children chose the distance across the large windows, I choose the width of the patio. We drew on a grid centred on our feature. Next we used the grid to divide up the areas into lawn and planting. The children added a bike track to their designs.

By R

By L

By Mum

Later in the afternoon we went to the DIY store and garden centre to get some inspiration.

Too old for trolleys really but who can resist this car

We bought some flowers to replace our faded ones and the children planted them up. We also got a bird table which we hope to jazz up a bit with paints.

Planter by R and L

Assembling the bird table